Showing posts with label crafts. Show all posts

Wednesday, August 22, 2012

Introducing HoneyBee Organic Unpaper Towels!

I just wanted to share a new little venture of mine:


These are "Unpaper Towels" - the way-better-than-paper-towels, eco-friendly, cost-saving alternative to paper towels and napkins!

I initially just wanted some for myself, but I found such a good deal on the *perfect* fabric, that I bought extra and sold some to a few friends. But I had a ton of other requests, so I bought even MORE fabric and am whipping up as many as I can!

Here's my little website with info:  HoneyBee Organic Unpaper Towels

They get scooped up as quickly as I can make them, but I'm trying to keep up with requests!

Friday, August 17, 2012

DIY Repurposed Play Kitchen

Well this is a project we did way last December as a Christmas gift for the three younger kids. It was something I dreamed up and my husband brought to fruition. These amazing repurposed play kitchens made from entertainment centers, cabinet or tables are all over the internet, so it wasn't hard to figure out what I wanted to do.

First, I found this entertainment center on Craigslist for $35. Finding just the right EC took a while because it had to have the right elements for what I wanted - a fridge, oven, and space for a sink and stovetop. It also had to be solid wood - no cheapy veneer or MDF. This is a solid piece and I think we got a good price on it. My husband *of course* paid less than what they were asking.  ;)


First thing's first - sanding! Richard sanded her down, after cutting a hole for the sink and removing the doors.

Nice work, honey.
Here she is all primed and ready to be painted! Richard refabbed one of the doors to turn into the oven door.

Here's the pregnant mama painting the inside of the "fridge."  We used a metallic paint for the fridge and oven for an authentic stainless steel look.  =]   (Don't worry - I really didn't paint much on this. Or sand, or anything. I was pregnant!)


All painted! We also painted the doors at this point.
A couple steps closer to completion!


Fridge shelves are in, as well as the oven rack.

A couple details I love about this - Richard removed the large glass door and replaced it with some sheet metal. So the kids can stick magnets on it - yay! Also, he put plexiglass in the oven door so you can peek in and see your muffins baking.  =]

I wanted the little shelves on the sides for spice jars and whatnot. My husband really went the extra mile doing all the little details that I wanted for this kitchen! I made the ruffly curtain out of some fabric I'd had for a loooong time, waiting for the right project for it. I love the orange with the blue.

Putting on the finishing touches - hooks, towel holders, a pennant banner...now I'm in my element!


Inside the oven - muffins, anyone?
The fridge is ready to be stocked!

Okay, so here we have the sink (mixing bowl from Target), a real kitchen faucet leftover from a job my brother was doing (thanks, Caleb!), and some knobs and heater elements from a real stove that my dad scored for us. (Thanks, Dad!) The hooks I had stashed away from like 8 years ago - finally found a use for them! The little jars, pot, bottles, fake flowers, salt shakers, etc. are mostly all from Goodwill.

A little ruffly towel on this side.

And a hook for aprons and towels on this side!
We put the play kitchen in the real kitchen on Christmas Eve, so the kids discovered it first thing Christmas morning!
Discovering all the neat things....
What's in here??


Here she is, fully stocked!
Wooden Melissa & Doug food in the fridge.

Love!


All ready for some culinary magic!


Here's C playing with some magnets on the fridge.

This was an awesome project, and so fun, but also a ton of work (basically all of which my husband did). But hopefully this little kitchen will last for years and years, and maybe our grandkids will be playing with it someday.  =]

Thursday, May 31, 2012

Stitchery

Inspired by the section on embroidering with children in Amanda Blake Soule's book "The Creative Family", and seeing this fun little free pattern on The Crafty Crow, I decided to try embroidering with my kiddos just before Easter.

Embroidery is something I've recently learned to do myself. Some of my first projects were portrait bookmarks of my kids' drawings from this tutorial.

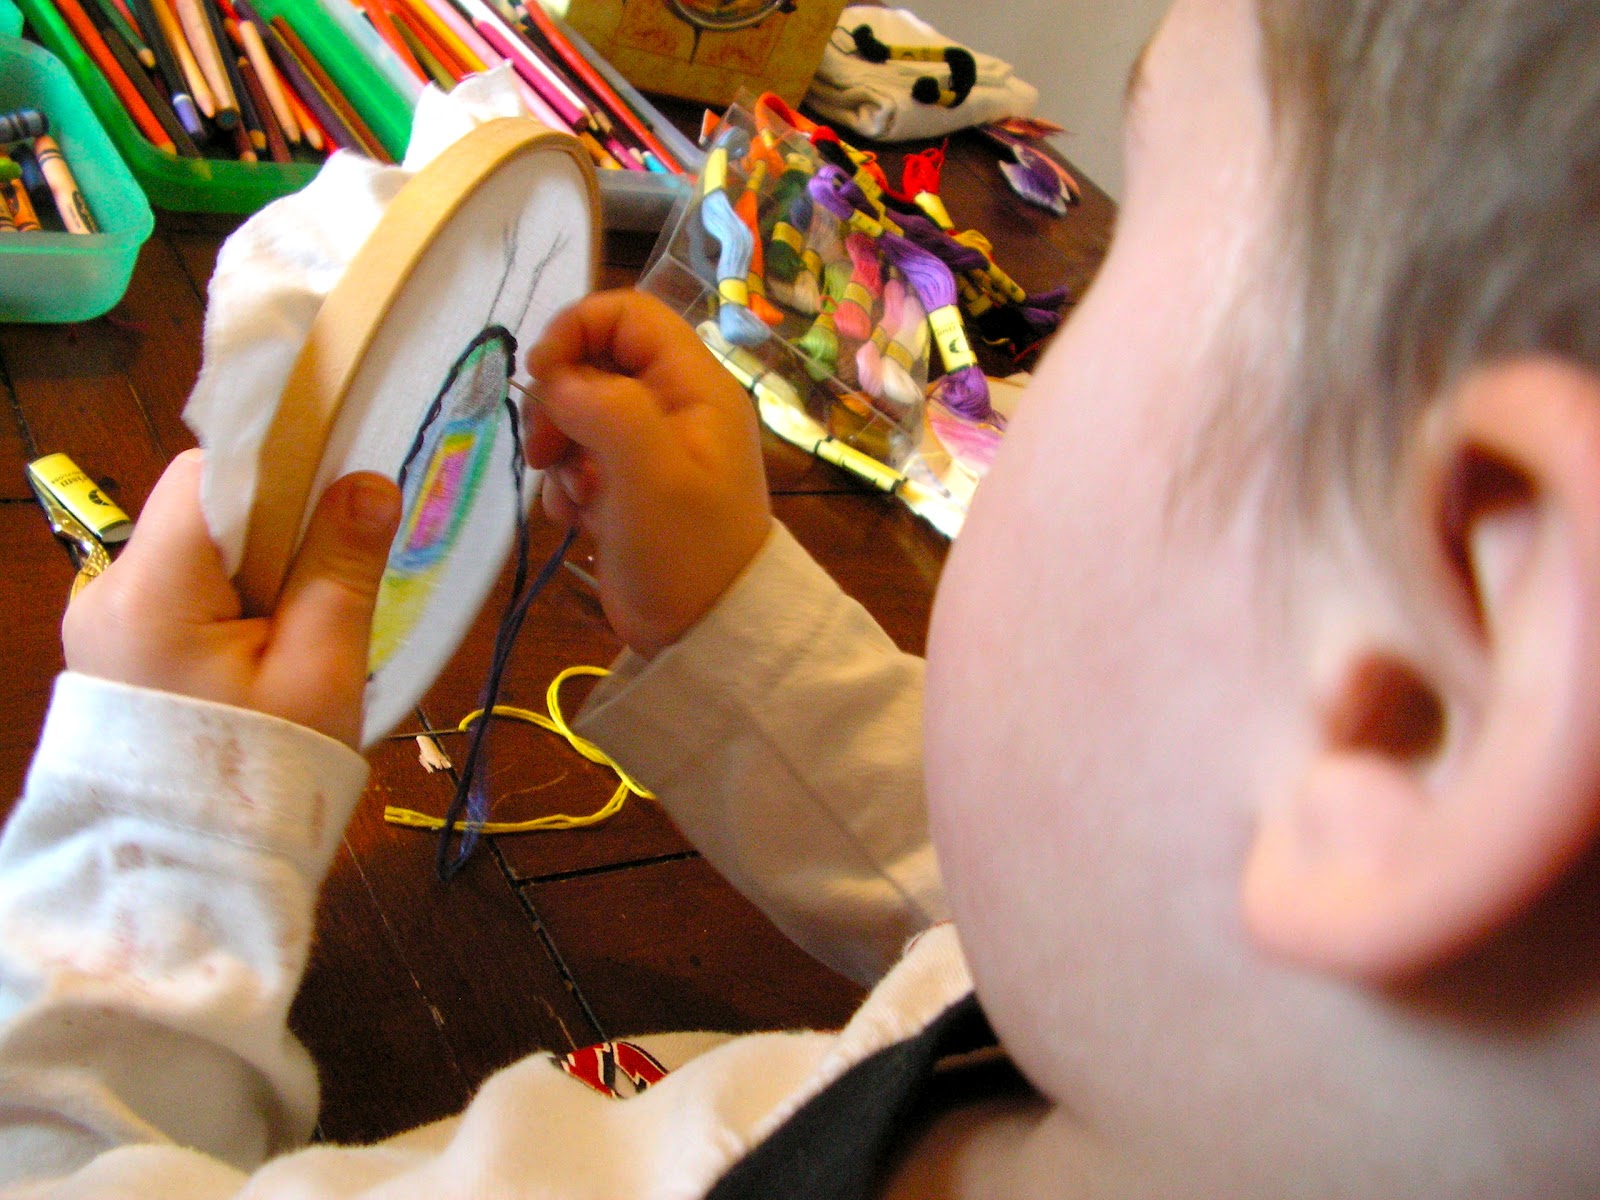
I had no idea what to expect with a 5.5 year old, 4 year old and 2.5 year old (Grace at 13 is already an intermediate stitcher.) Well it turned out to be more of a hit than I could have imagined! Moses and Judah both completed their entire projects in one sitting and pretty much just wanted to do "stitching" the whole week. They're both on their 3rd projects now (which got interrupted by the birth of little brother, otherwise I'd be willing to bet they'd have several more done by now.)  Clementine didn't stitch, but she colored her chick and then organized all my floss, specifically the pinks and purples.  =]


So first mama drew the outline on some linen fabric (I like linen because it has an open weave and is easy for the kiddos to poke the needle through) then they colored them in with crayons and colored pencils. Then I placed some scratch paper over the drawing and lightly ironed them to "set" the colors.


Then I let the kids pick out what color floss they'd like and threaded a big tapestry needle for them. (Tapestry needles are big and somewhat blunt - perfect for Littles.) I taught them a basic back stitch and they got it right away!


The finished products! Aren't they amazing!?


If you're interested in embroidery, here's a couple great beginner's tutorials:

Wild Olive Embroidery Basics
Sublime Stitching Easy Embroidery Tutorials