Judah has changed and grown so much this past year. He
just began talking at 2 years old. Now it's incredible how the kind of stuff he's saying. Although he still has some cute speech impediments (he doesn't say his hard "c" sound and says an "h" sound instead, so Clementine is "Hementine" and his favorite snake, the King Cobra, is a "Hing Hoba") he's very much intelligible. This fact alone has defused an incredible amount of the frustration he felt as a 2-year-old. Also he's just matured - he's learned to wait for things he wants, to share, to use words instead of hitting or biting, to verbalize his desires, to use manners, etc. (we're still working on all of these, of course, but the PROGRESS we've made in the last year is encouraging for this mama!! Actually, I wonder if my boys will still have to be encouraged to "Use your words!" as adult men....)
Here's Judah when he first started talking last February:
Last summer we were getting this adorable speech:
By this past fall Judah was volunteering lots of verbal information,
most of which was intelligible:
And here he is a couple weeks ago talking about his stitches:
Sometimes I just sit and let Judah talk to me because it's SO adorable to listen to his little voice. He has very mature and deep thoughts, but the way they come out sometimes sounds a little babyish still and that combination is enchanting. But DO NOT SMILE OR LAUGH!! It is imperative to take his serious words - even the adorably mispronounced ones - with the proper serious attitude.

It has been an incredible joy to watch Judah flourish and to see the baby grow into a toddler and now into a full-fledged boy. There was a point where within a couple of weeks he seemed to clearly "hit a new stage" in his development - Richard and I both noticed and commented on it. Although he loves to do what his older sibs are doing, Judah certainly has his own quirks and knows his own mind. He really feels and thinks deeply. He has a very serious side as well as a goofiness that has us all rolling when he cares to turn it on.


Judah as a two-year-old was probably like most two-year-olds who
really want to do things themselves. I constantly had to remember to give him time to attempt things himself, even when I knew it was something he couldn't do, like buckle his own car seat belt. If I just barged in to do it myself a screaming, crying, frustrated meltdown would invariably ensue! I've learned to not be in such a rush and to allow time for Judah to spread his wings a bit. I've learned to ask first, "would you like me to help or would you like to try yourself?" Usually if after trying himself he isn't able to do some task, he happily allows me to do it for him - the few extra minutes it takes to let him try first are well-worth it. Actually I think "DON'T BE IN A RUSH" is a key motto for parenting in general, not just with 2-year-olds!!

Although Judah and Moses still fight a lot, there has been improvement there as well, and it's so fun to watch them playing imaginary games together, sharing jokes, singing songs and creating buildings and machines. I think Moses has enjoyed finally having a playmate who is both a
boy and very much at the same level as he. Sissy hasn't always been so keen on playing the kinds of games Moses has wanted to play. With less than 20 months between them, Moses and Judah have reached a very similar place developmentally, and I'm sure that will become even more so as they get older.


Judah has given me some of my hardest parenting challenges, and I'm constantly praying for more wisdom in mothering him. I often feel like I don't know what's going on in his little mind and heart, because he has such a deep-feeling, internal sort of personality. In so many situations I find myself praying for insight, for a way to reach his heart and understand what's underneath his very frustrating behavior. But even with these challenges, he's an incredible delight!! He's such a complex little boy. And we're still in a sort of limbo time, where he's spreading his wings and maturing but still needing cuddles and lots of nurturing. Sometimes he wants to be treated like the "big kids" and sometimes he needs to be treated like the baby, and I need to be sensitive to understand those needs.


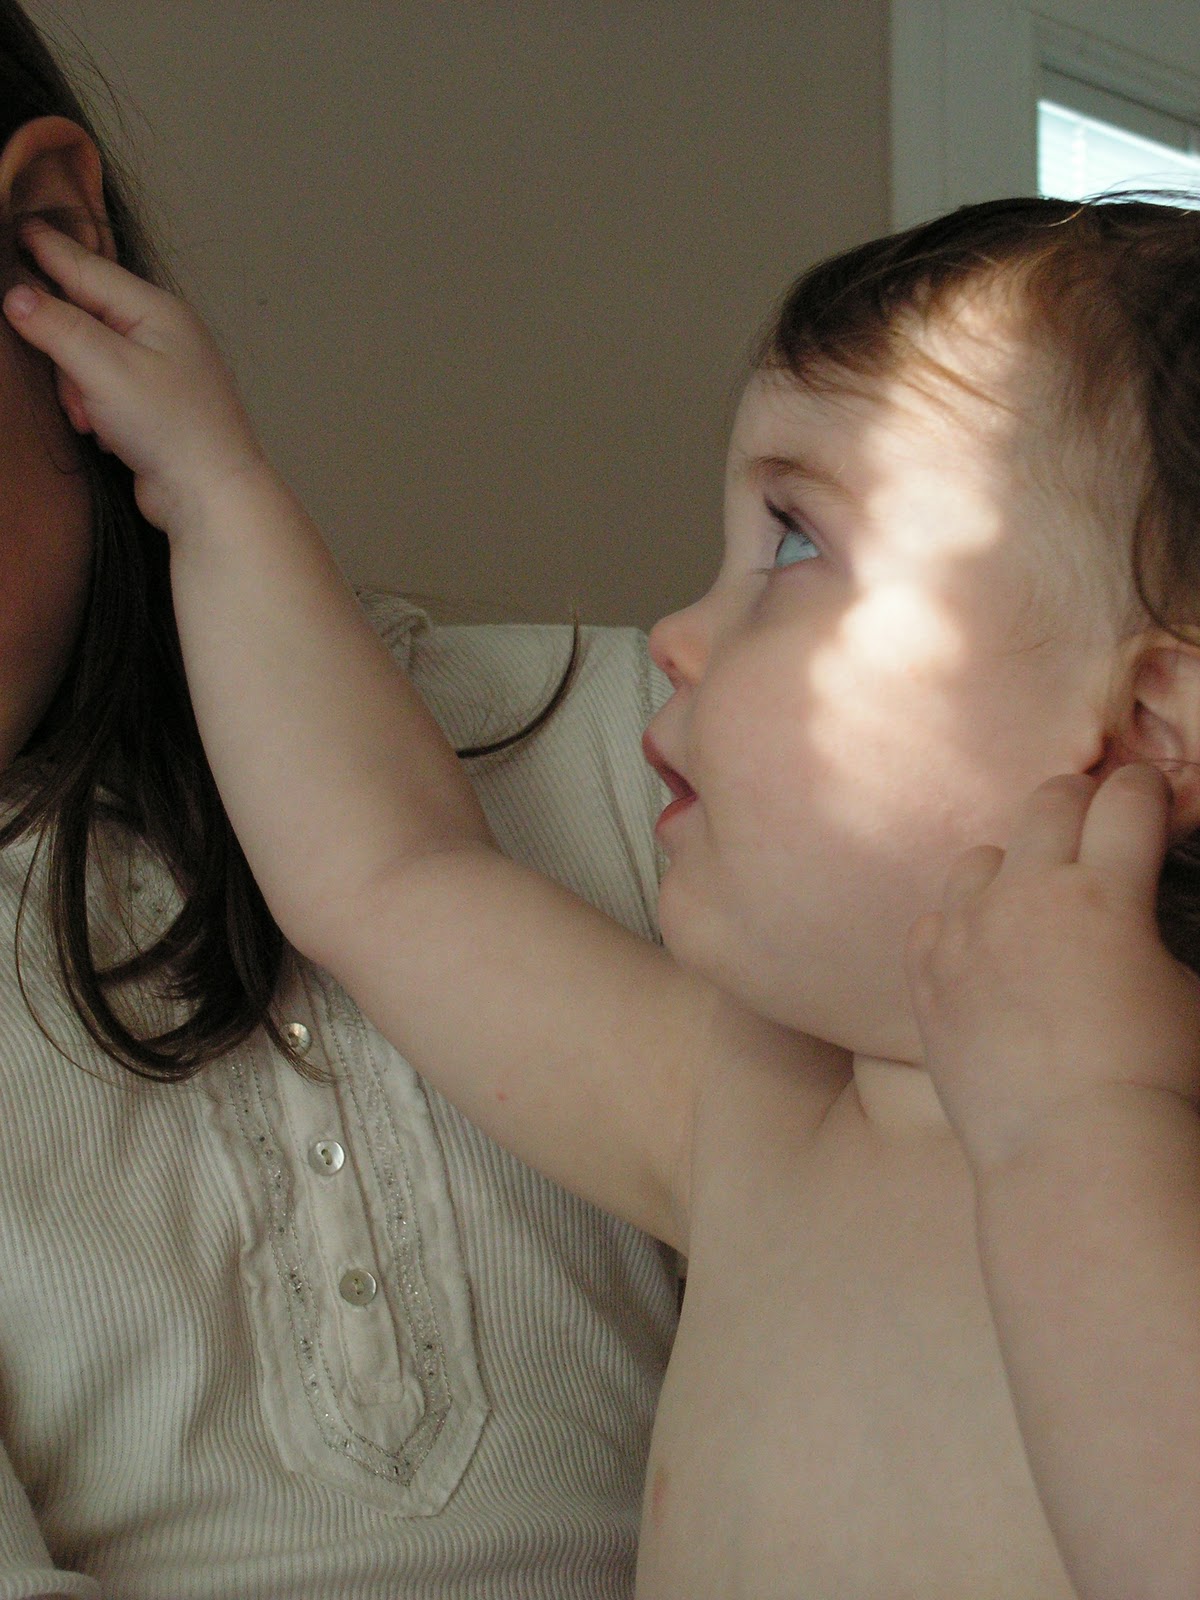

 It has been an incredible joy to watch Judah flourish and to see the baby grow into a toddler and now into a full-fledged boy. There was a point where within a couple of weeks he seemed to clearly "hit a new stage" in his development - Richard and I both noticed and commented on it. Although he loves to do what his older sibs are doing, Judah certainly has his own quirks and knows his own mind. He really feels and thinks deeply. He has a very serious side as well as a goofiness that has us all rolling when he cares to turn it on.
 Judah as a two-year-old was probably like most two-year-olds who really want to do things themselves. I constantly had to remember to give him time to attempt things himself, even when I knew it was something he couldn't do, like buckle his own car seat belt. If I just barged in to do it myself a screaming, crying, frustrated meltdown would invariably ensue! I've learned to not be in such a rush and to allow time for Judah to spread his wings a bit. I've learned to ask first, "would you like me to help or would you like to try yourself?" Usually if after trying himself he isn't able to do some task, he happily allows me to do it for him - the few extra minutes it takes to let him try first are well-worth it. Actually I think "DON'T BE IN A RUSH" is a key motto for parenting in general, not just with 2-year-olds!!
 Although Judah and Moses still fight a lot, there has been improvement there as well, and it's so fun to watch them playing imaginary games together, sharing jokes, singing songs and creating buildings and machines. I think Moses has enjoyed finally having a playmate who is both a boy and very much at the same level as he. Sissy hasn't always been so keen on playing the kinds of games Moses has wanted to play. With less than 20 months between them, Moses and Judah have reached a very similar place developmentally, and I'm sure that will become even more so as they get older.

 Judah has given me some of my hardest parenting challenges, and I'm constantly praying for more wisdom in mothering him. I often feel like I don't know what's going on in his little mind and heart, because he has such a deep-feeling, internal sort of personality. In so many situations I find myself praying for insight, for a way to reach his heart and understand what's underneath his very frustrating behavior. But even with these challenges, he's an incredible delight!! He's such a complex little boy. And we're still in a sort of limbo time, where he's spreading his wings and maturing but still needing cuddles and lots of nurturing. Sometimes he wants to be treated like the "big kids" and sometimes he needs to be treated like the baby, and I need to be sensitive to understand those needs.