I enjoy sewing and crafting even though I'm something of a learn-as-you-go hack. I'm so thankful to my Grandma Morgan who taught my mom to sew after she married my dad. What a great mother-in-law! And my mom taught me to sew (although I wish I would have had her teach me more!!) So I know some basics and have learned more through trial-and-error. If you know me, you know I'm pretty much a wing-it-and-see-how-it-goes sort of person, rather than a careful planner. That's why I'm a lot more successful at crafting than at sewing clothes that actually fit people!
Anyway, reupholstering has appealed to me more and more as we furnish our home and I read those DIY, before-and-after blogs of people who take nasty pieces of furniture off the curbs and turn them into things you'd see in a home decor magazine. My thought has been, "I could do that, I mean how hard could it be?"
So when Richard scored this antique rocking chair from a resident whose sewer he was fixing, I was pretty keen to give reupholstery a go. (Rocker was bought for $40 cash!!)
So I ripped off the seat fabric and committed myself to reupholstering it. I decided to leave the springs, even though the middle one was a bit gimpy, because redoing that seemed a bit ambitious, even for me. I figured I'd just get some foam to put over it then tack down some fabric and viola~! New chair. (Remember I said I'm not big into preplanning).
Well, I went to Joann's to get some foam and tacks, and thought I'd better just take a peak at an upholstery book for reference. Again, not big on getting my ducks in a row. After skimming 2 or 3 books I realized I needed more materials than I originally thought, in the form of burlap and batting. No biggie. I also stocked up on glue stick for the hot glue gun, figuring I'd probably end up using it.
***WARNING*** This is in no way a tutorial! Please do not follow any of these steps if you want to reupholster anything. I photo journaled this project for my own pleasure, but you should think of it more as a guide of what NOT to do. Thank you.
 |
| I forgot to take a picture before I ripped off the disgusting, ancient tapestry and stained, smelly stuffing of the seat. But you can see the fabric is not super awesome. And it smelled very strongly like old person. |
 |
| My book skimming told me I should pull out all the old tacks and nails. Clementine was my helper through most of this project. |
 |
| See? Look how good she helps! Also notice how [relatively] clean my workspace was at the beginning of this project. I'm also not big on "clean up as you go", plus I let the kids scatter toys everywhere so they'd stay out of my hair, so it's not pretty at the end! |
 |
| After all the old nails are out and I sanded down the rough spots, I tacked burlap down over the springs. From my extensive research I learned that the foam will disintegrate if you don't do this. Oh, and I used Richard's handy dandy staple gun for this. Must Have!! |
 |
| Then I stapled down 2" thick foam over the burlap. FYI, foam is expensive. Joann's had it 50% off and the two pieces still cost me just under $15. That seems like a lot. |
 |
| Then finally the batting goes on top of the foam to sort of smooth it out. Again, the staple gun. |
 |
| And here is the new fabric! I've had this for a long time...got in on clearance thinking it would be great for some project or other and it was a score for like $10. Absolutely perfect for this chair! Which just goes to show you the old adage is true that you should always buy beautiful fabric that's on sale even if you don't have a project in mind for it. That is an old adage, right? |
 |
| I used little upholstery tack thingies to attach the fabric. The corners were a little tricky, as I couldn't remember exactly the technique the book showed...but I winged it and it turned out fine. And comfy!! Can't feel the gimpy spring at all. |
 |
| So far so good. And the tornado has passed through the room once. See the dead dog? |
 |
| Here's the nasty stuffing that was under the old tapestry. Ew. |
 |
| I left this webbing because it was in pretty good shape and I hadn't bought any new webbing. |
 |
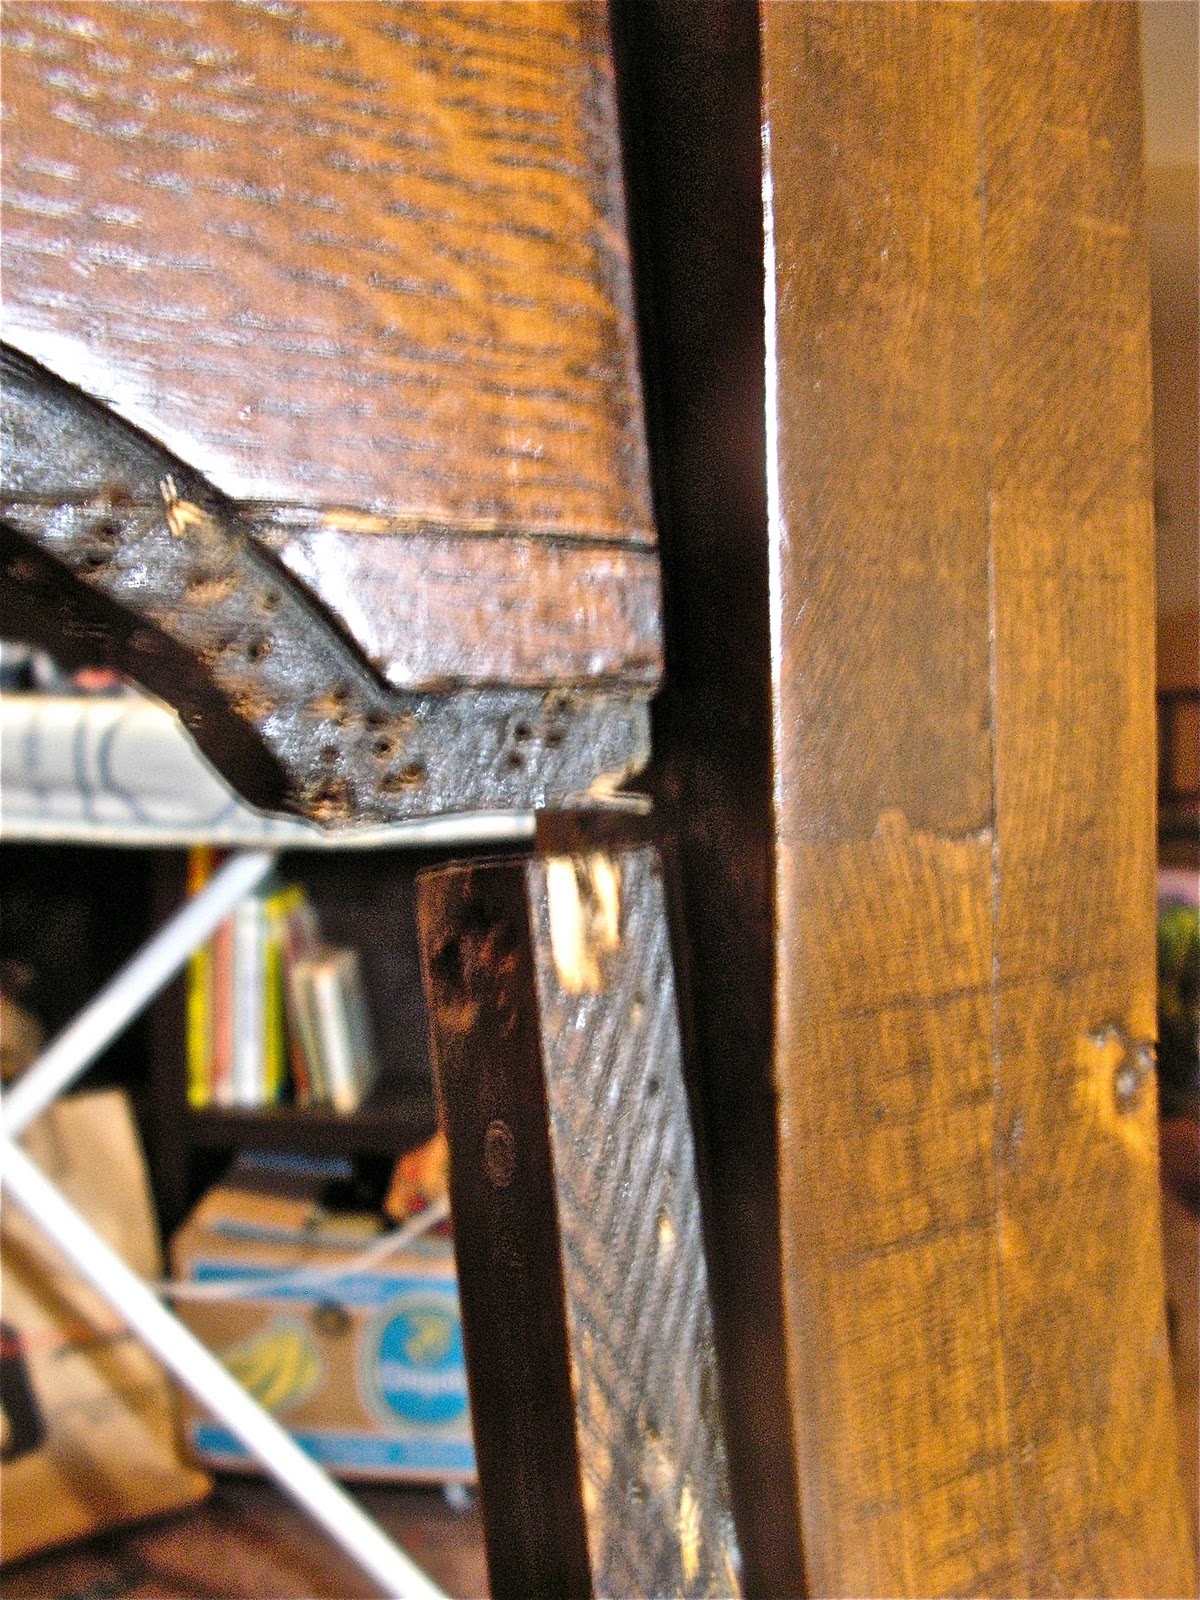
| This was the only structural damage to the wood of the chair. There's that sad crack there, but my awesome hubby fixed it up good for me! Otherwise this is a super solid chair. |
 |
| Burlap over the webbing. |
 |
| First I tried just a couple layers of batting over the burlap because the foam seemed like it'd be too thick. But when you sat in the chair you could really feel the ridge of wood along the bottom of your back, so I tore that out and went with the foam. |
 |
| I think the 2" foam really was too thick, and it was hard to staple down to this part of the frame. But I got 'er done along with the batting. Again, loving the staple gun!! |
 |
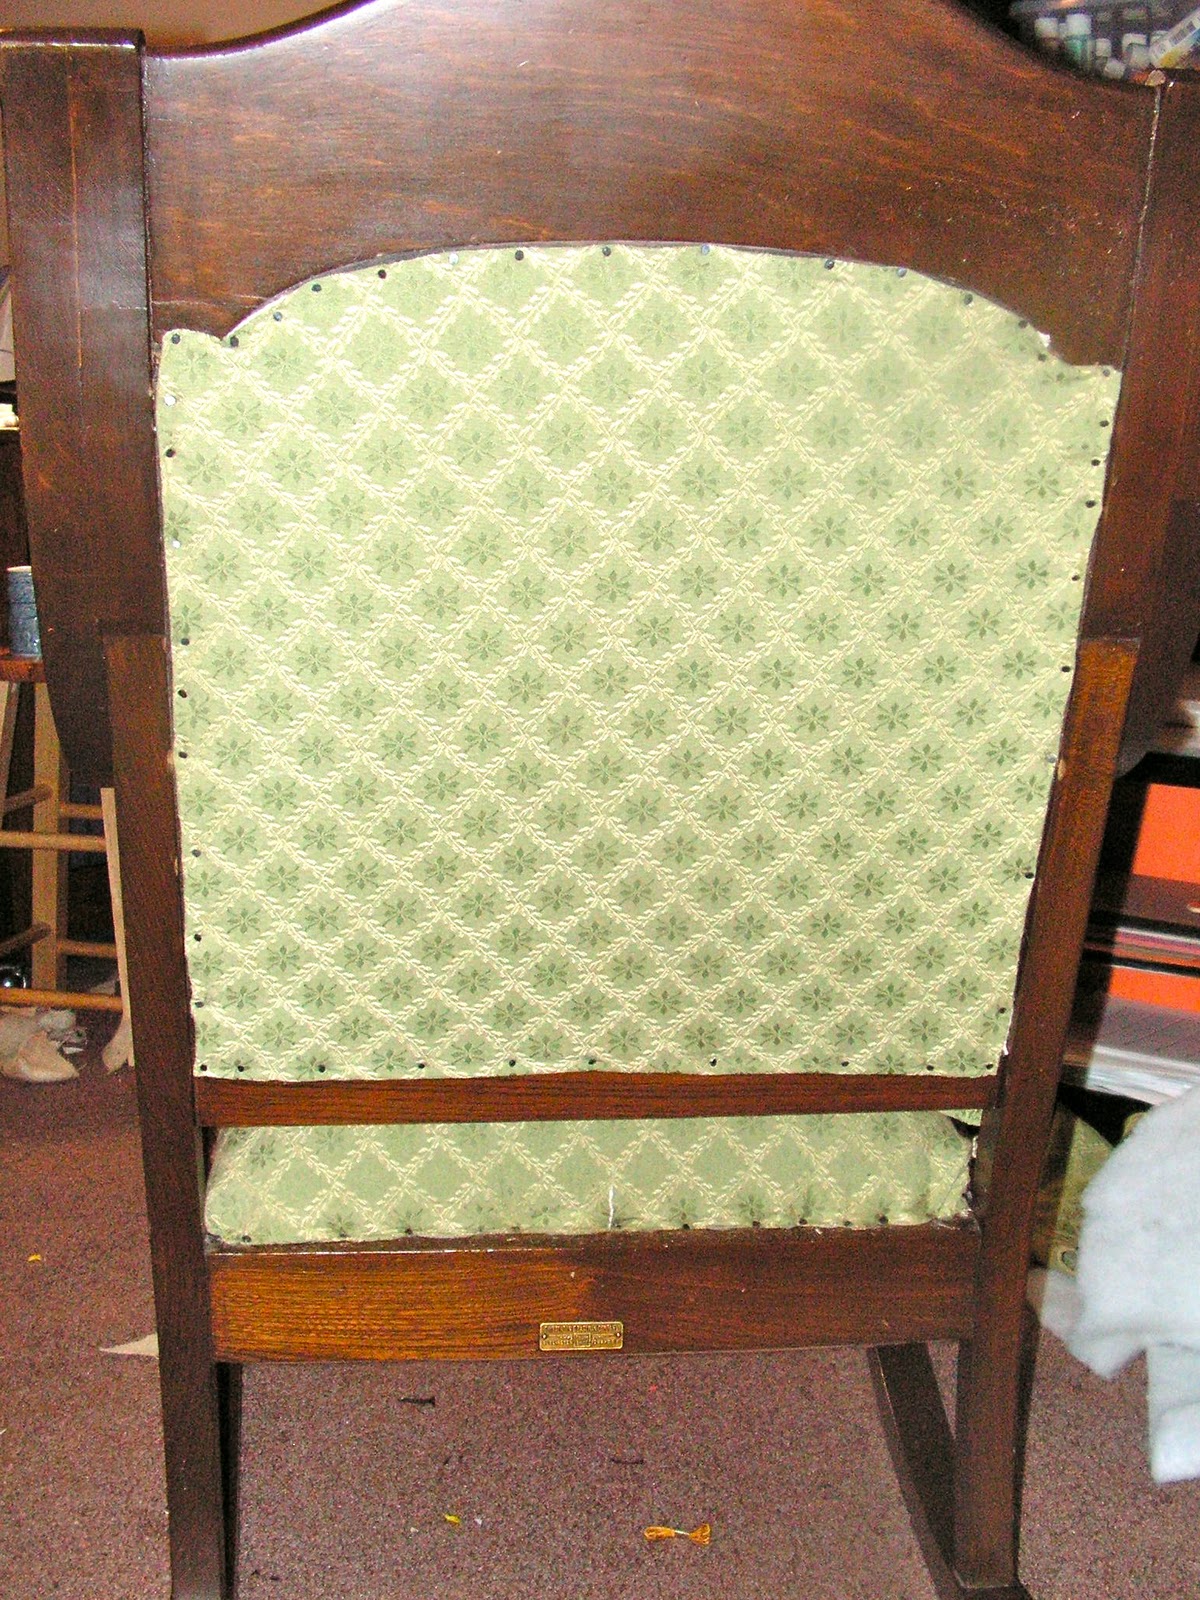
| Oh, and I did the back of the chair before the front because it was easier. No batting or foam, it just laid across the webbing. The shape of the top was a little tricky, and you can see the slight wonkiness of it, but I figured it would be fine once I put the braid over it. |
 |
| So here's the front after I got the fabric on. This is my least favorite part of the whole thing because you can see it's totally puckery. I just had trouble getting it over that thick foam and, well, I was winging it. But it's okay. As Richard always says, "Do we look like the kind of people who have to have everything perfect?" |
 |
| I hot glued the trim on and I really like that part. I burned two of my fingers like crazy but it was so easy putting the braid on. |
 |
| Close up. The braid really finishes it off nicely. That's my favorite part, I think. |
 |
| The chair is MUCH more comfortable now, not all squishy and gross like before. The back is firm but doesn't stick out too much, which I was worried about. Maybe the puckers will smooth out a bit after it gets sat in for a while. All-in-all I'm happy with how it turned out! |
So there it is, my first reupholstery job. Just like always, I learned a lot and I think I'll be able to do a slightly better job next time. Maybe after 4 or 5 funny looking pieces of furniture we'll have something that's a true gem! In the mean time, I am happy with this chair, pumped that it's really usable now and that the whole thing cost $90! The fabric is really gorgeous and Richard really loves it too. That makes me the happiest of all.